
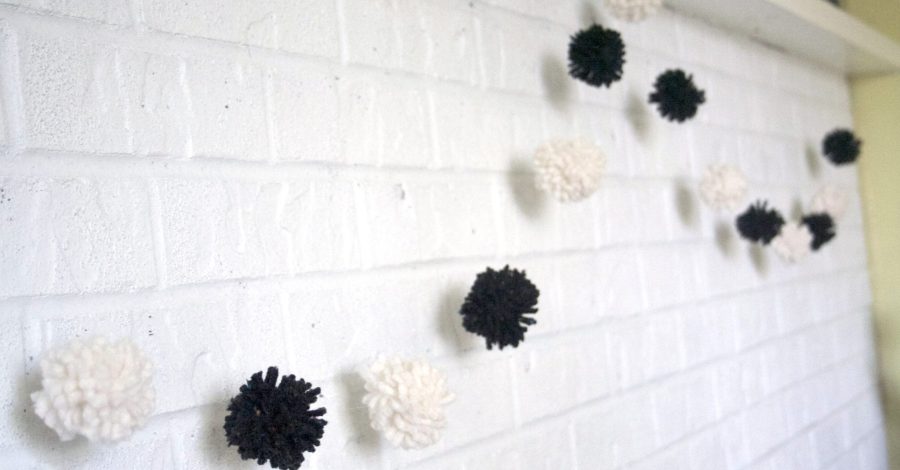
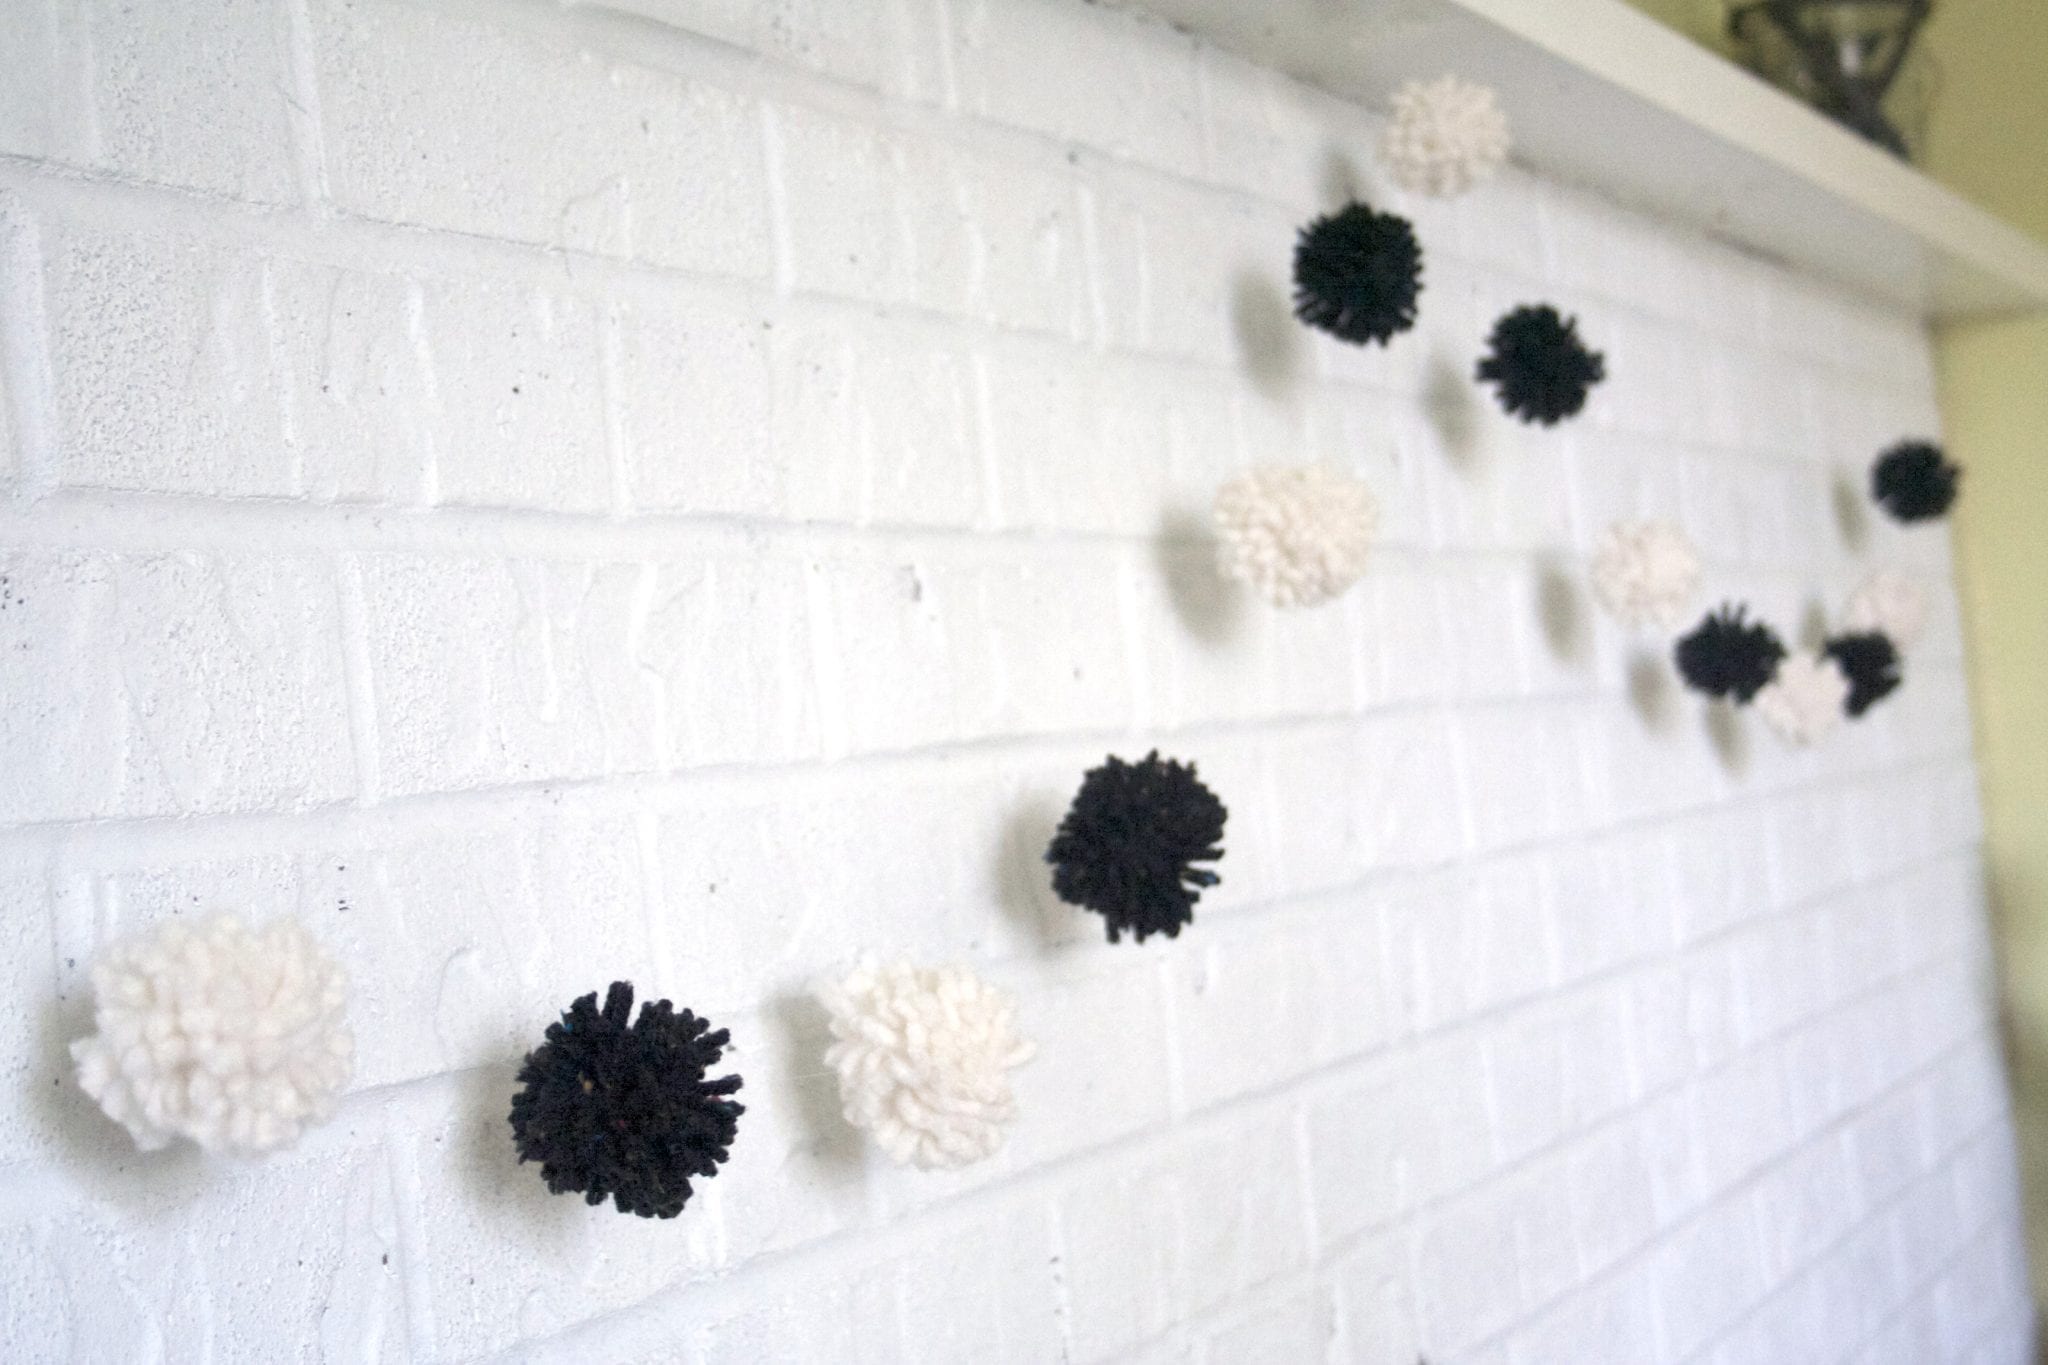
Pom garlands are becoming ever-so trendy right now, especially for nurseries. It is no secret that our founder, Modern Day Mom Jessica, is pregnant. I am beyond stoked for her as this has been a long journey for her to conceive Baby #2. While browsing Instagram one day, I saw a nursery with pom garland and I thought it was an absolutely adorable piece of decor. And what is even better is it is simple and inexpensive to make.
All you need is:
- yarn – varying colors if you wish
- invisible thread (or fishing line will do)
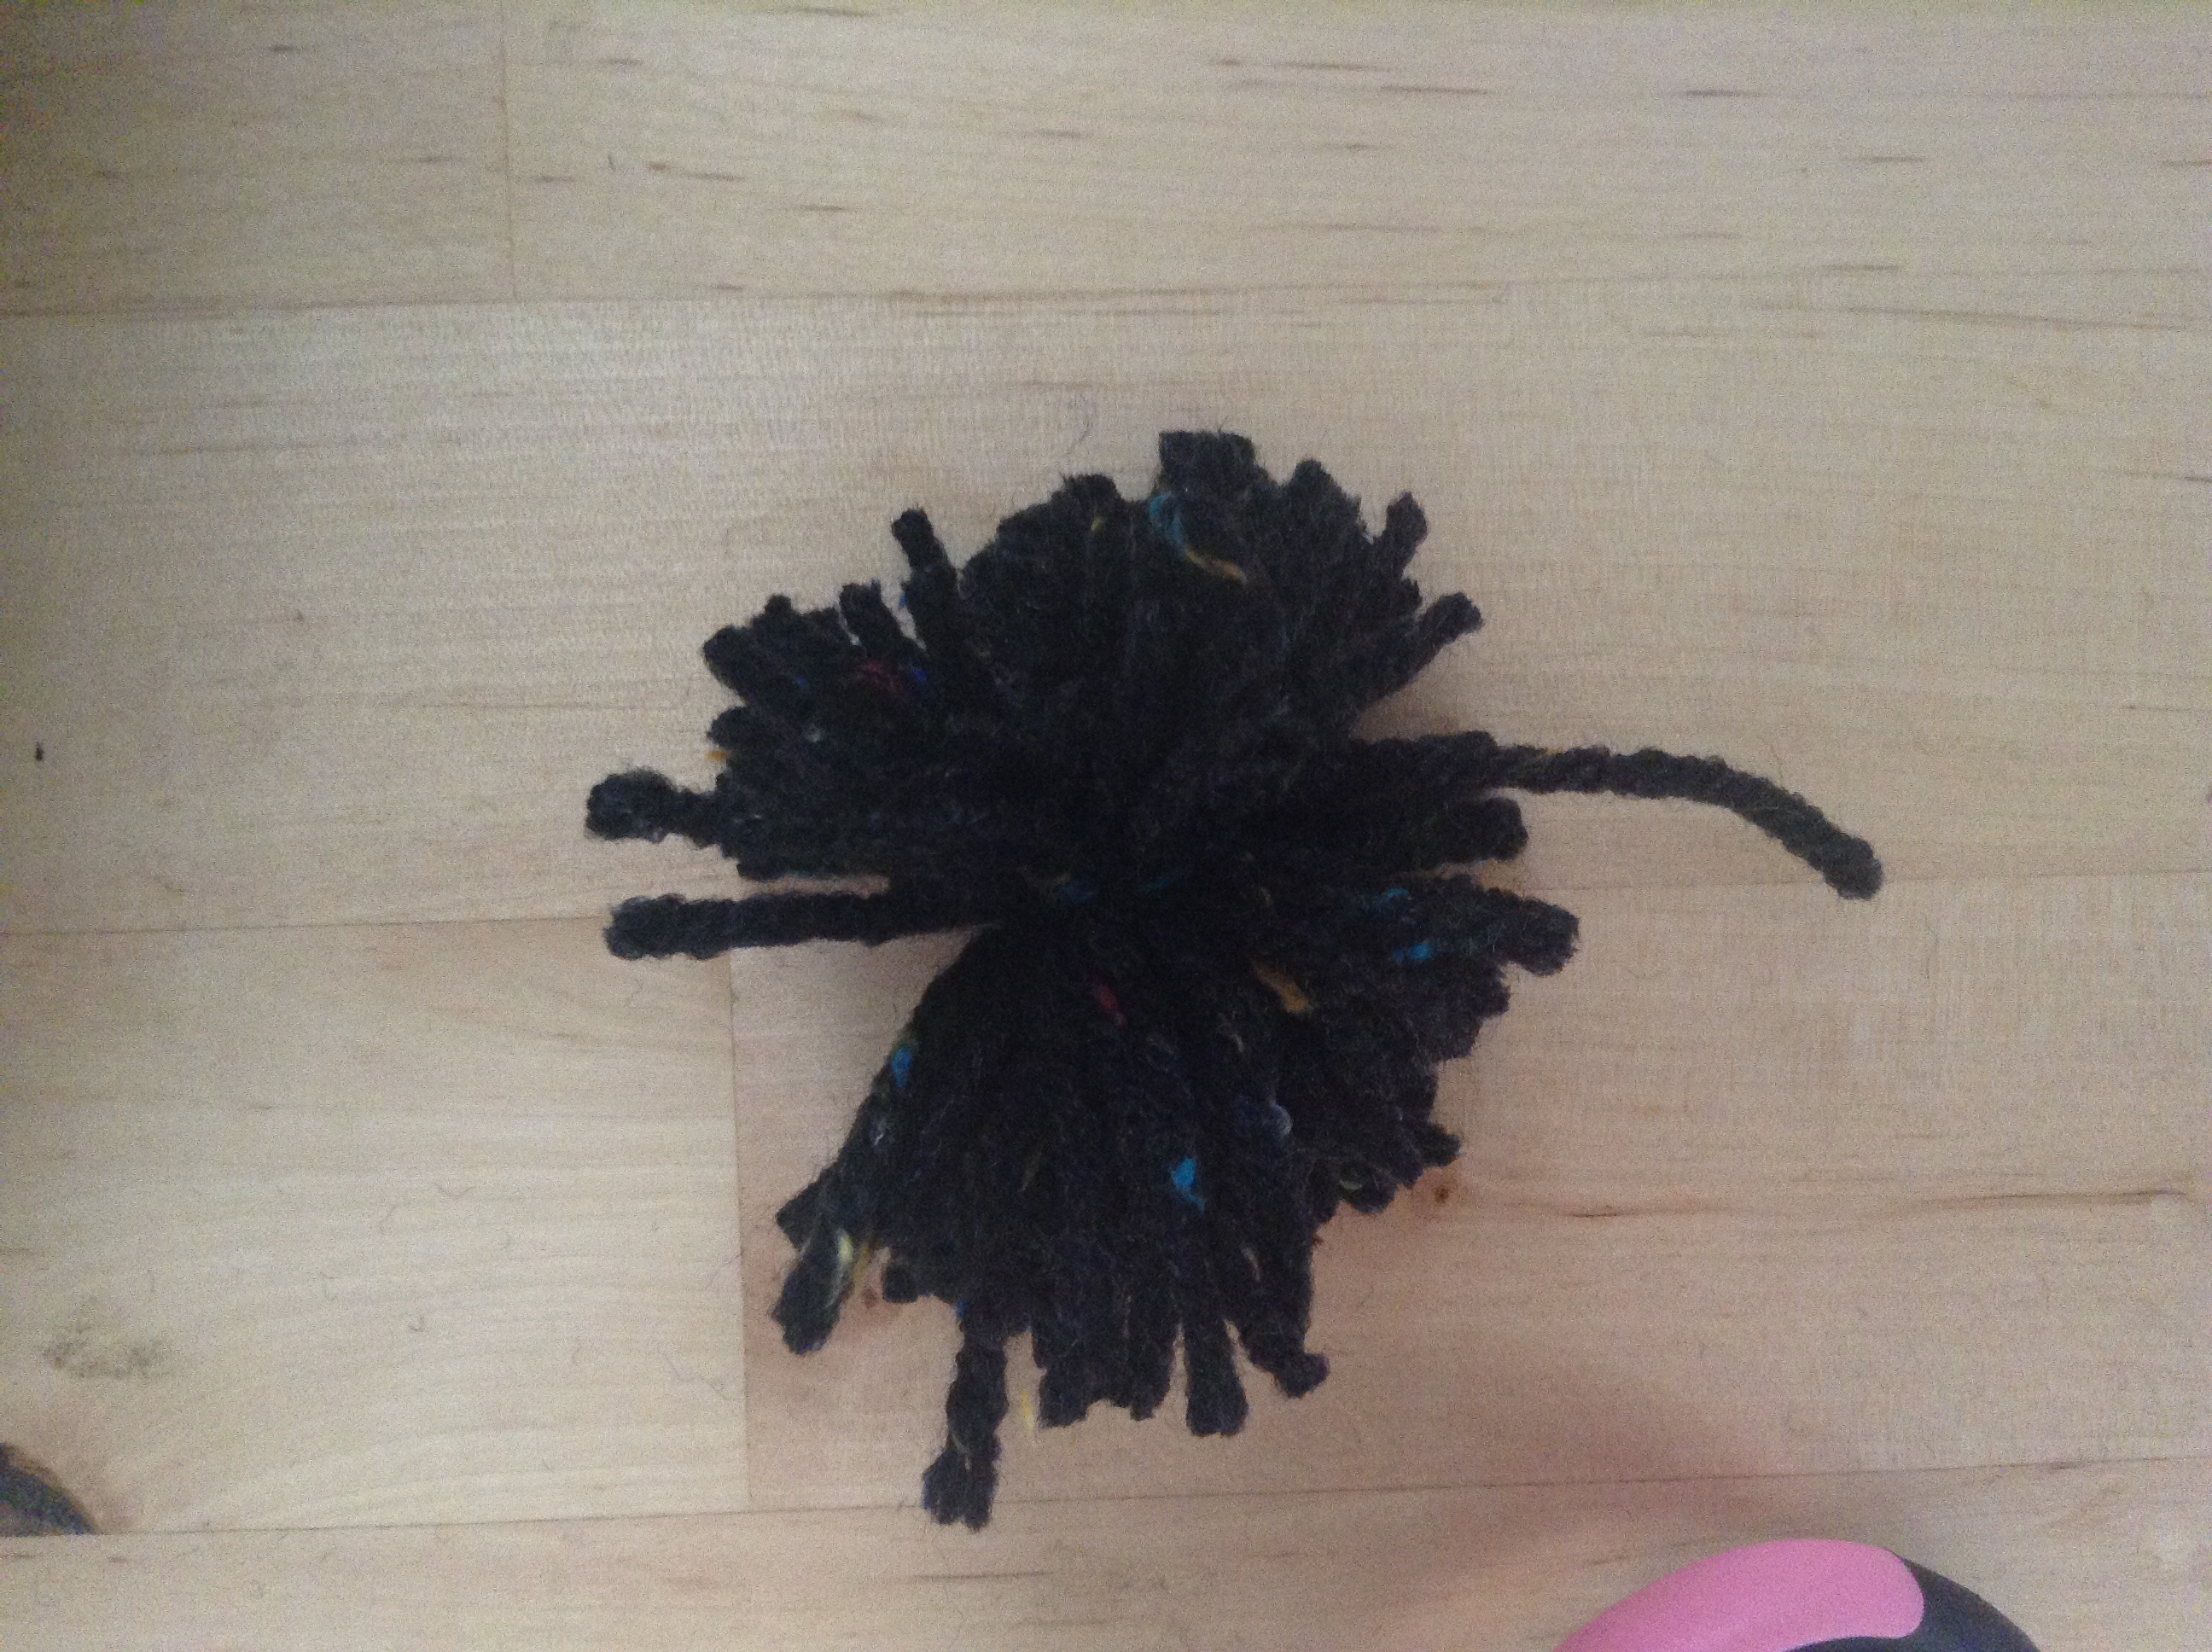
I chose colors that will be in her nursery. The black has flakes of color in it and the white is a puffy white, the same white I used on my Snowy Grapevine tree.
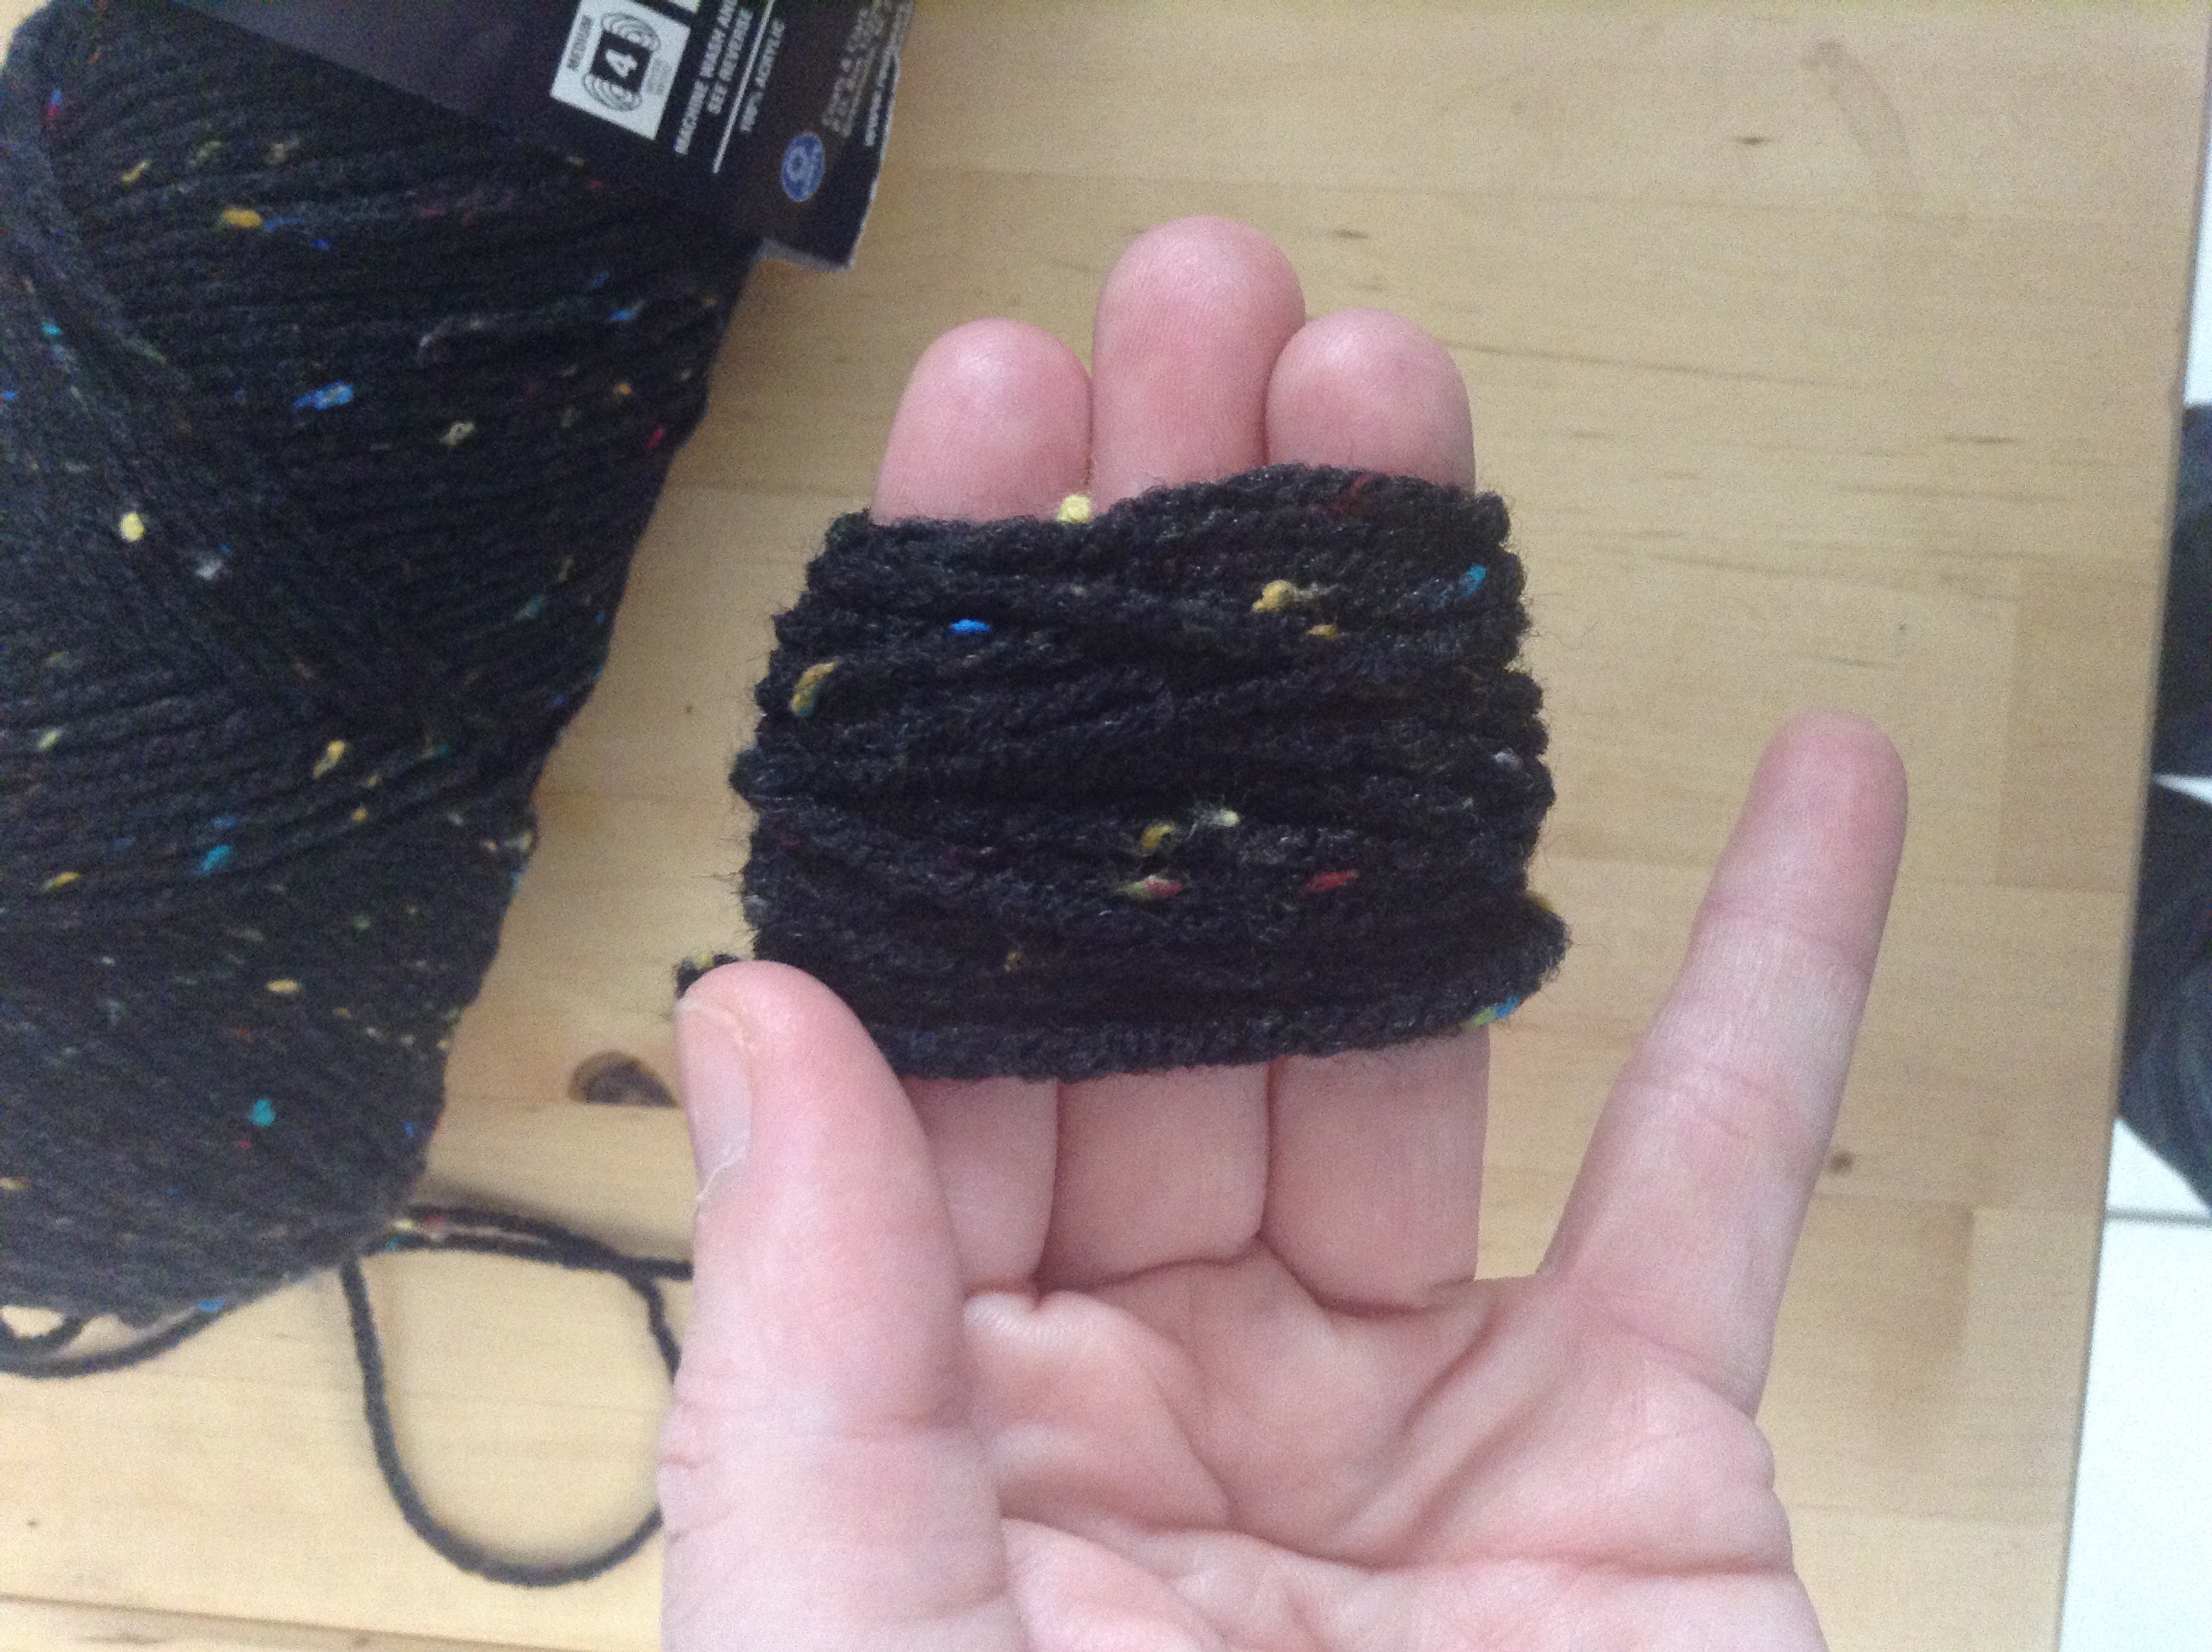
First, wind your yarn around three of your fingers, not so tight that it cuts your circulation off. ;) Make it a decent thickness so that you will have plenty of fluff on each pom. The thicker the yarn, the less thickness you have to wind around.
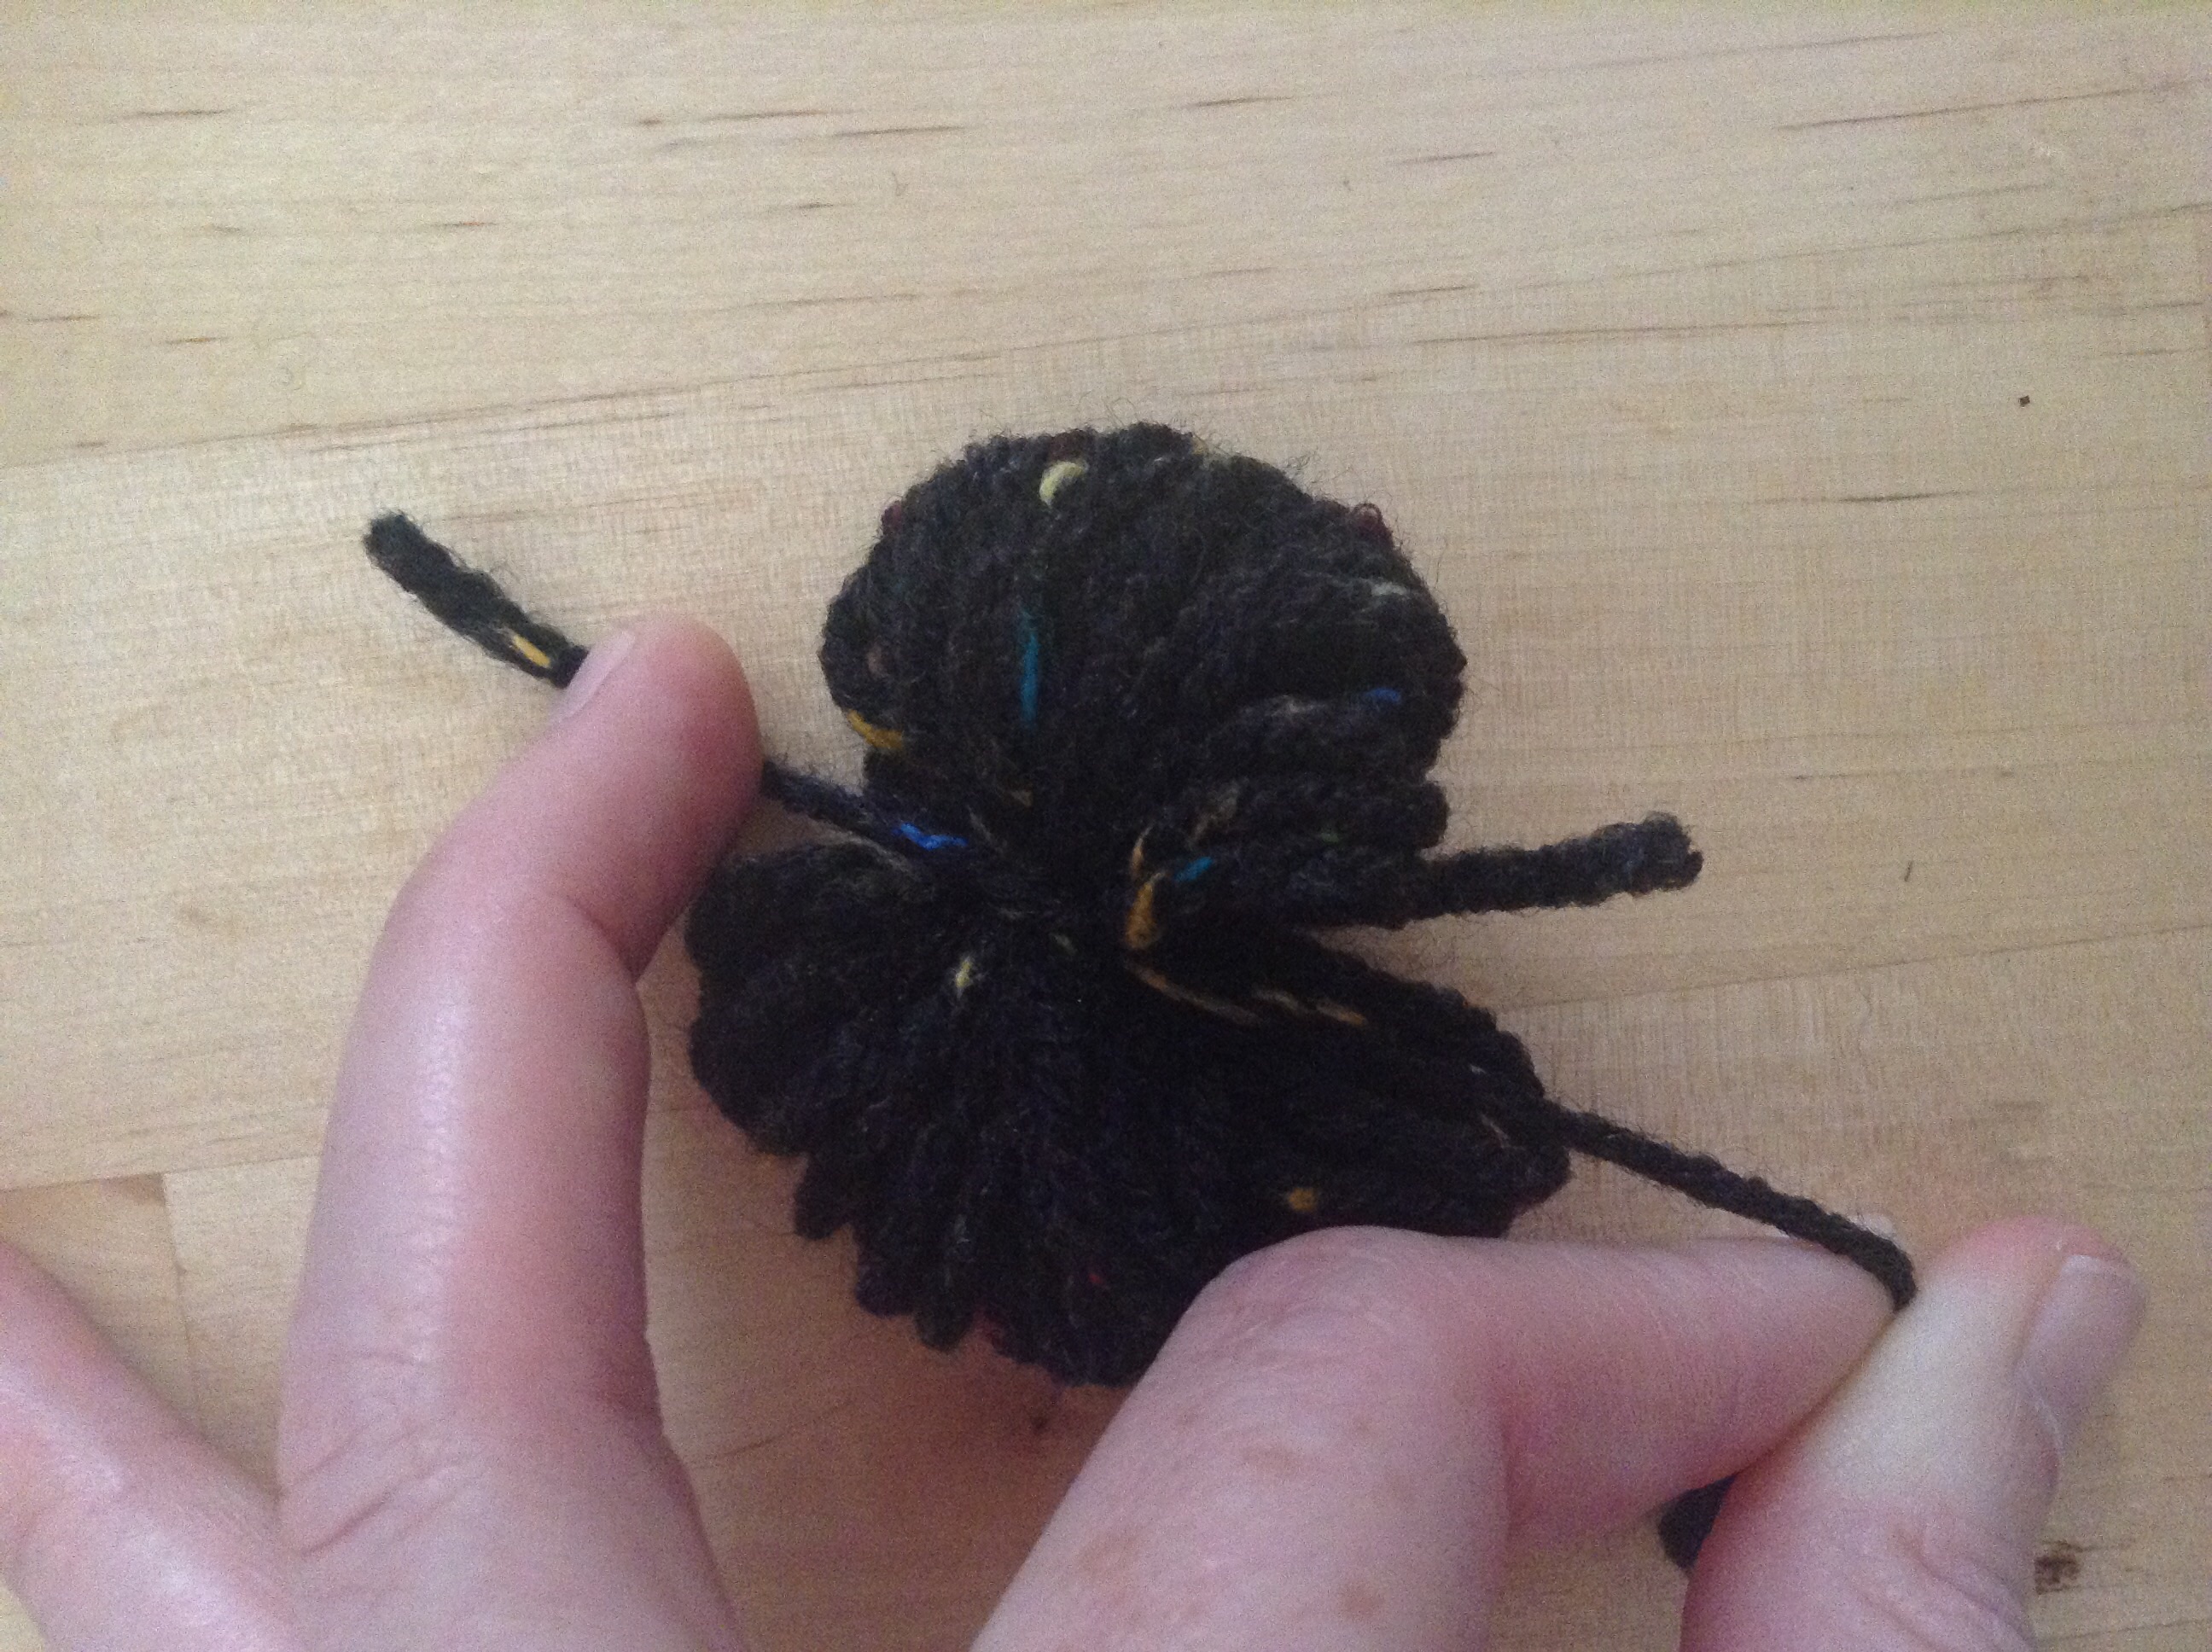
Next, carefully slide the yarn off your fingers, keeping it in the same shape as it was on your fingers. Wrap a small cut of coordinating thread around the center part of the looped thread, then knot it tightly around it. Make two knots to keep it from coming apart.
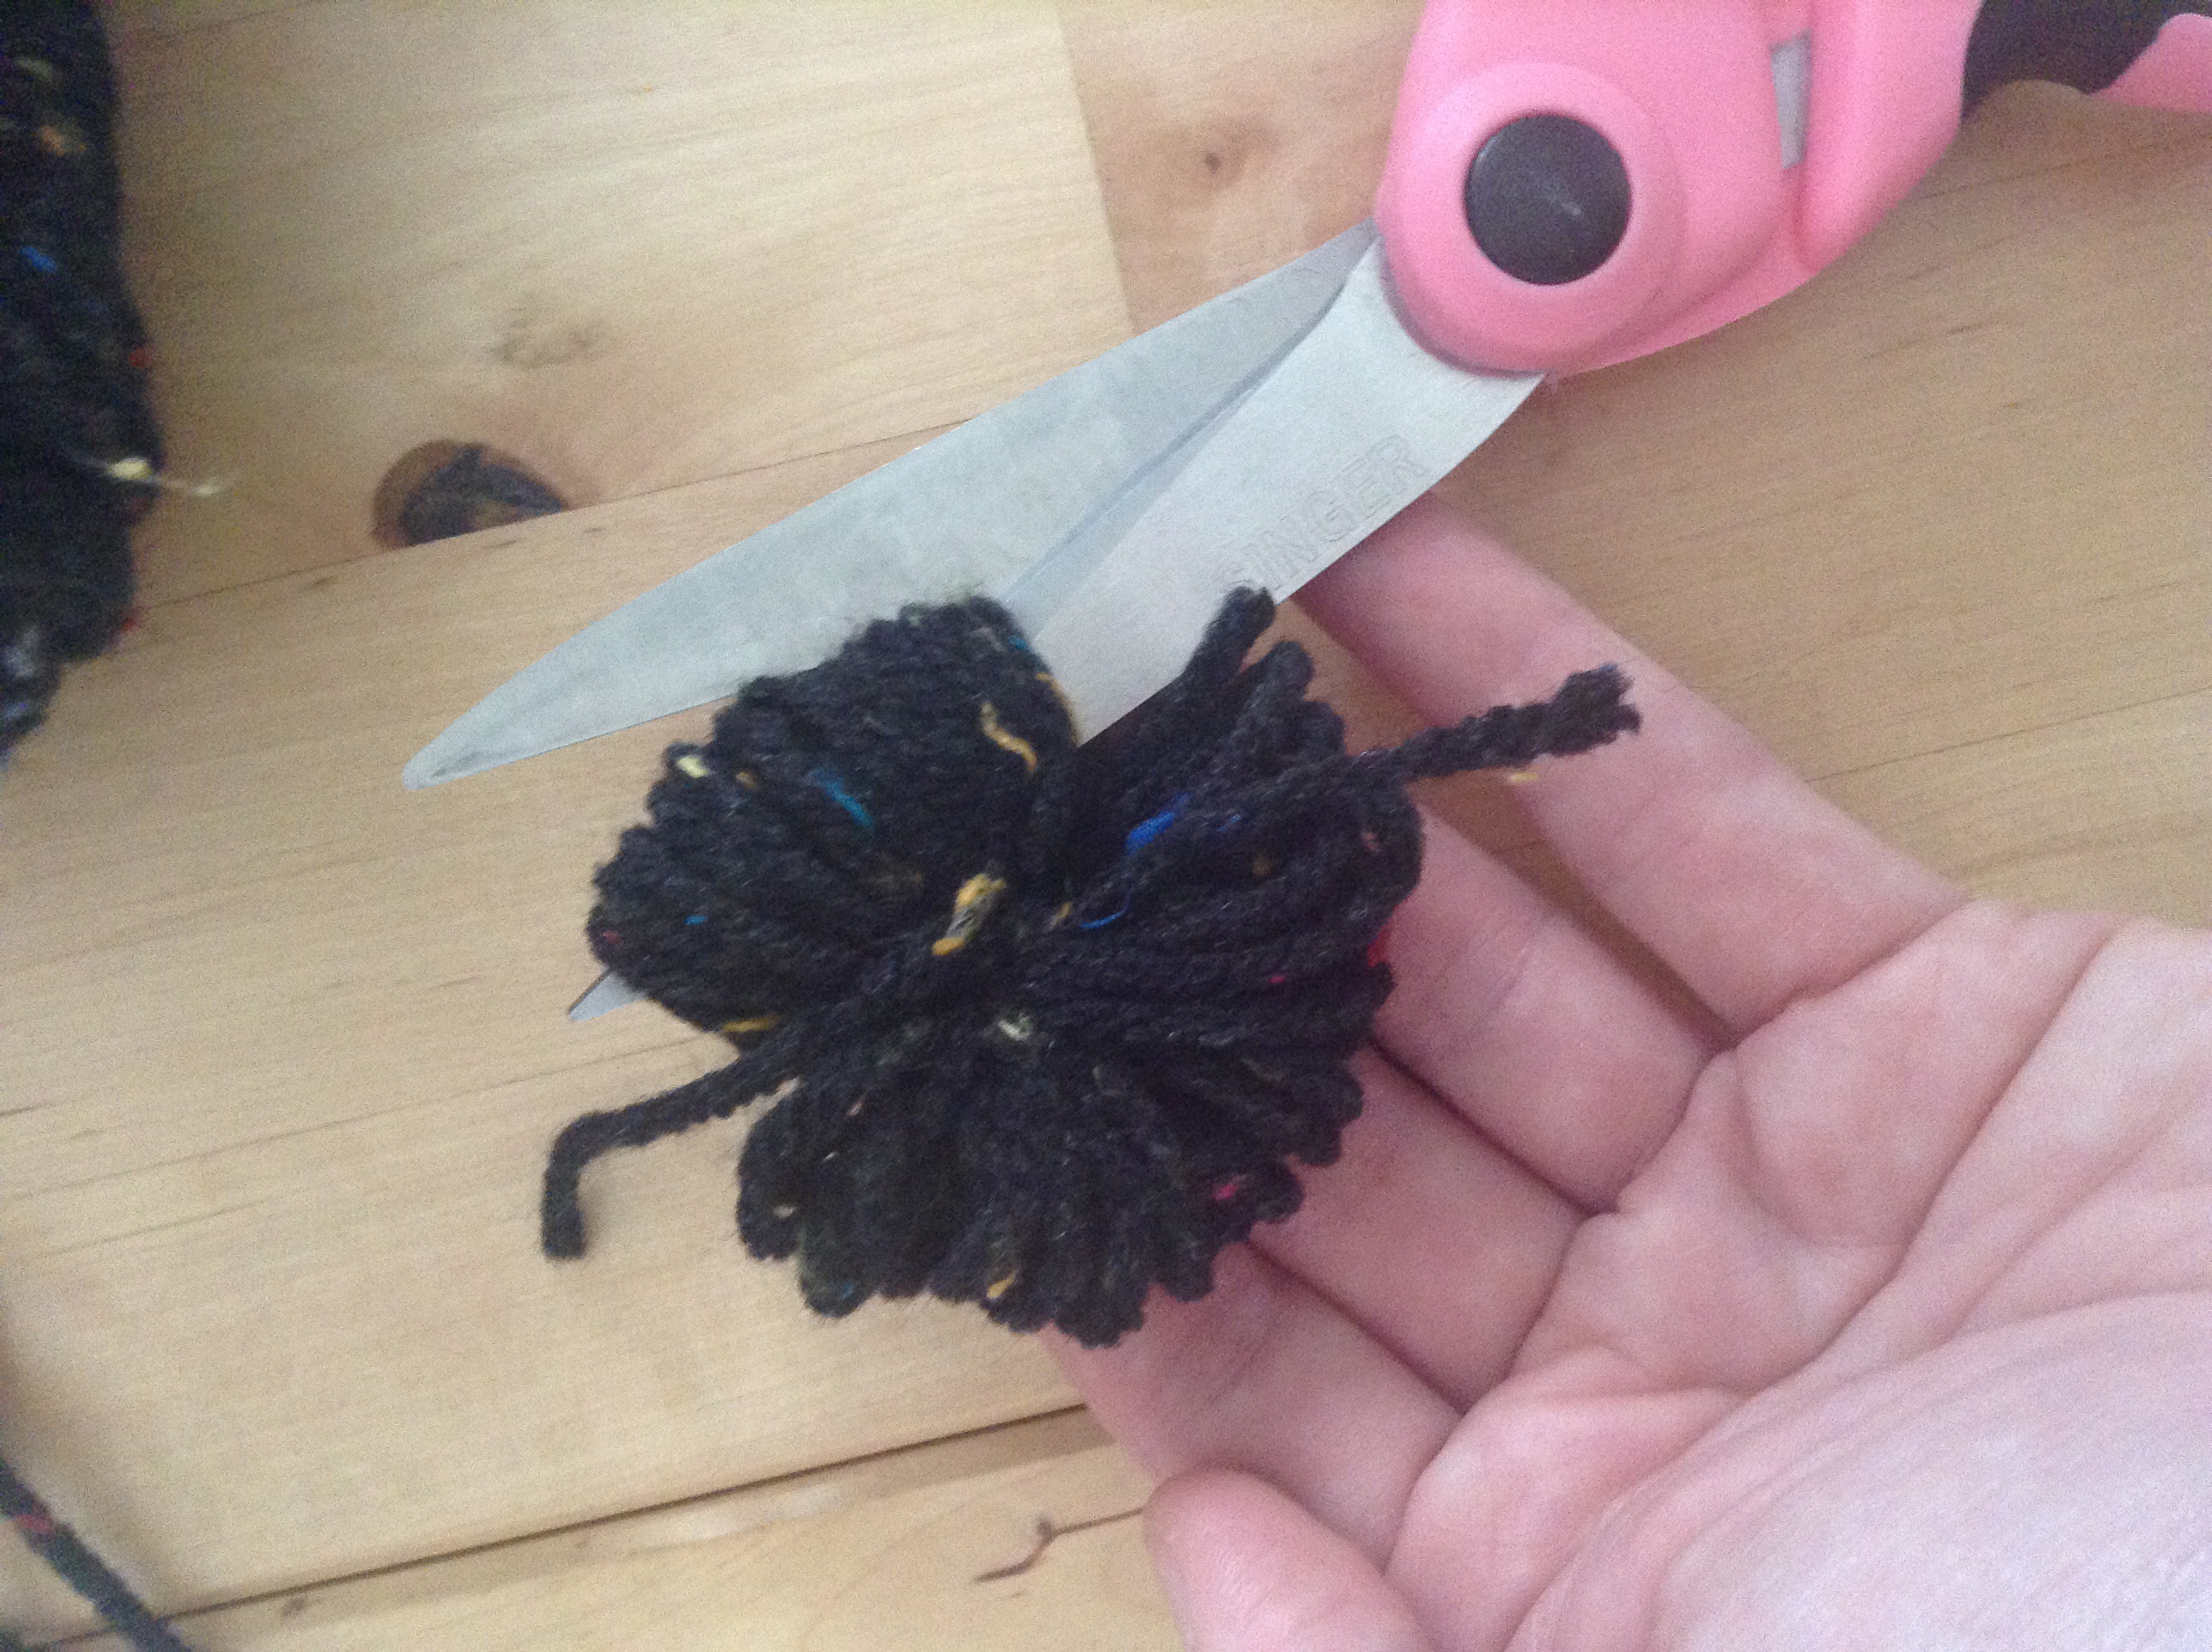
Then slide your scissors in the loops and snip!
Finally, trim the tops of your poms so that they are evenly rounded, like trimming hedges.
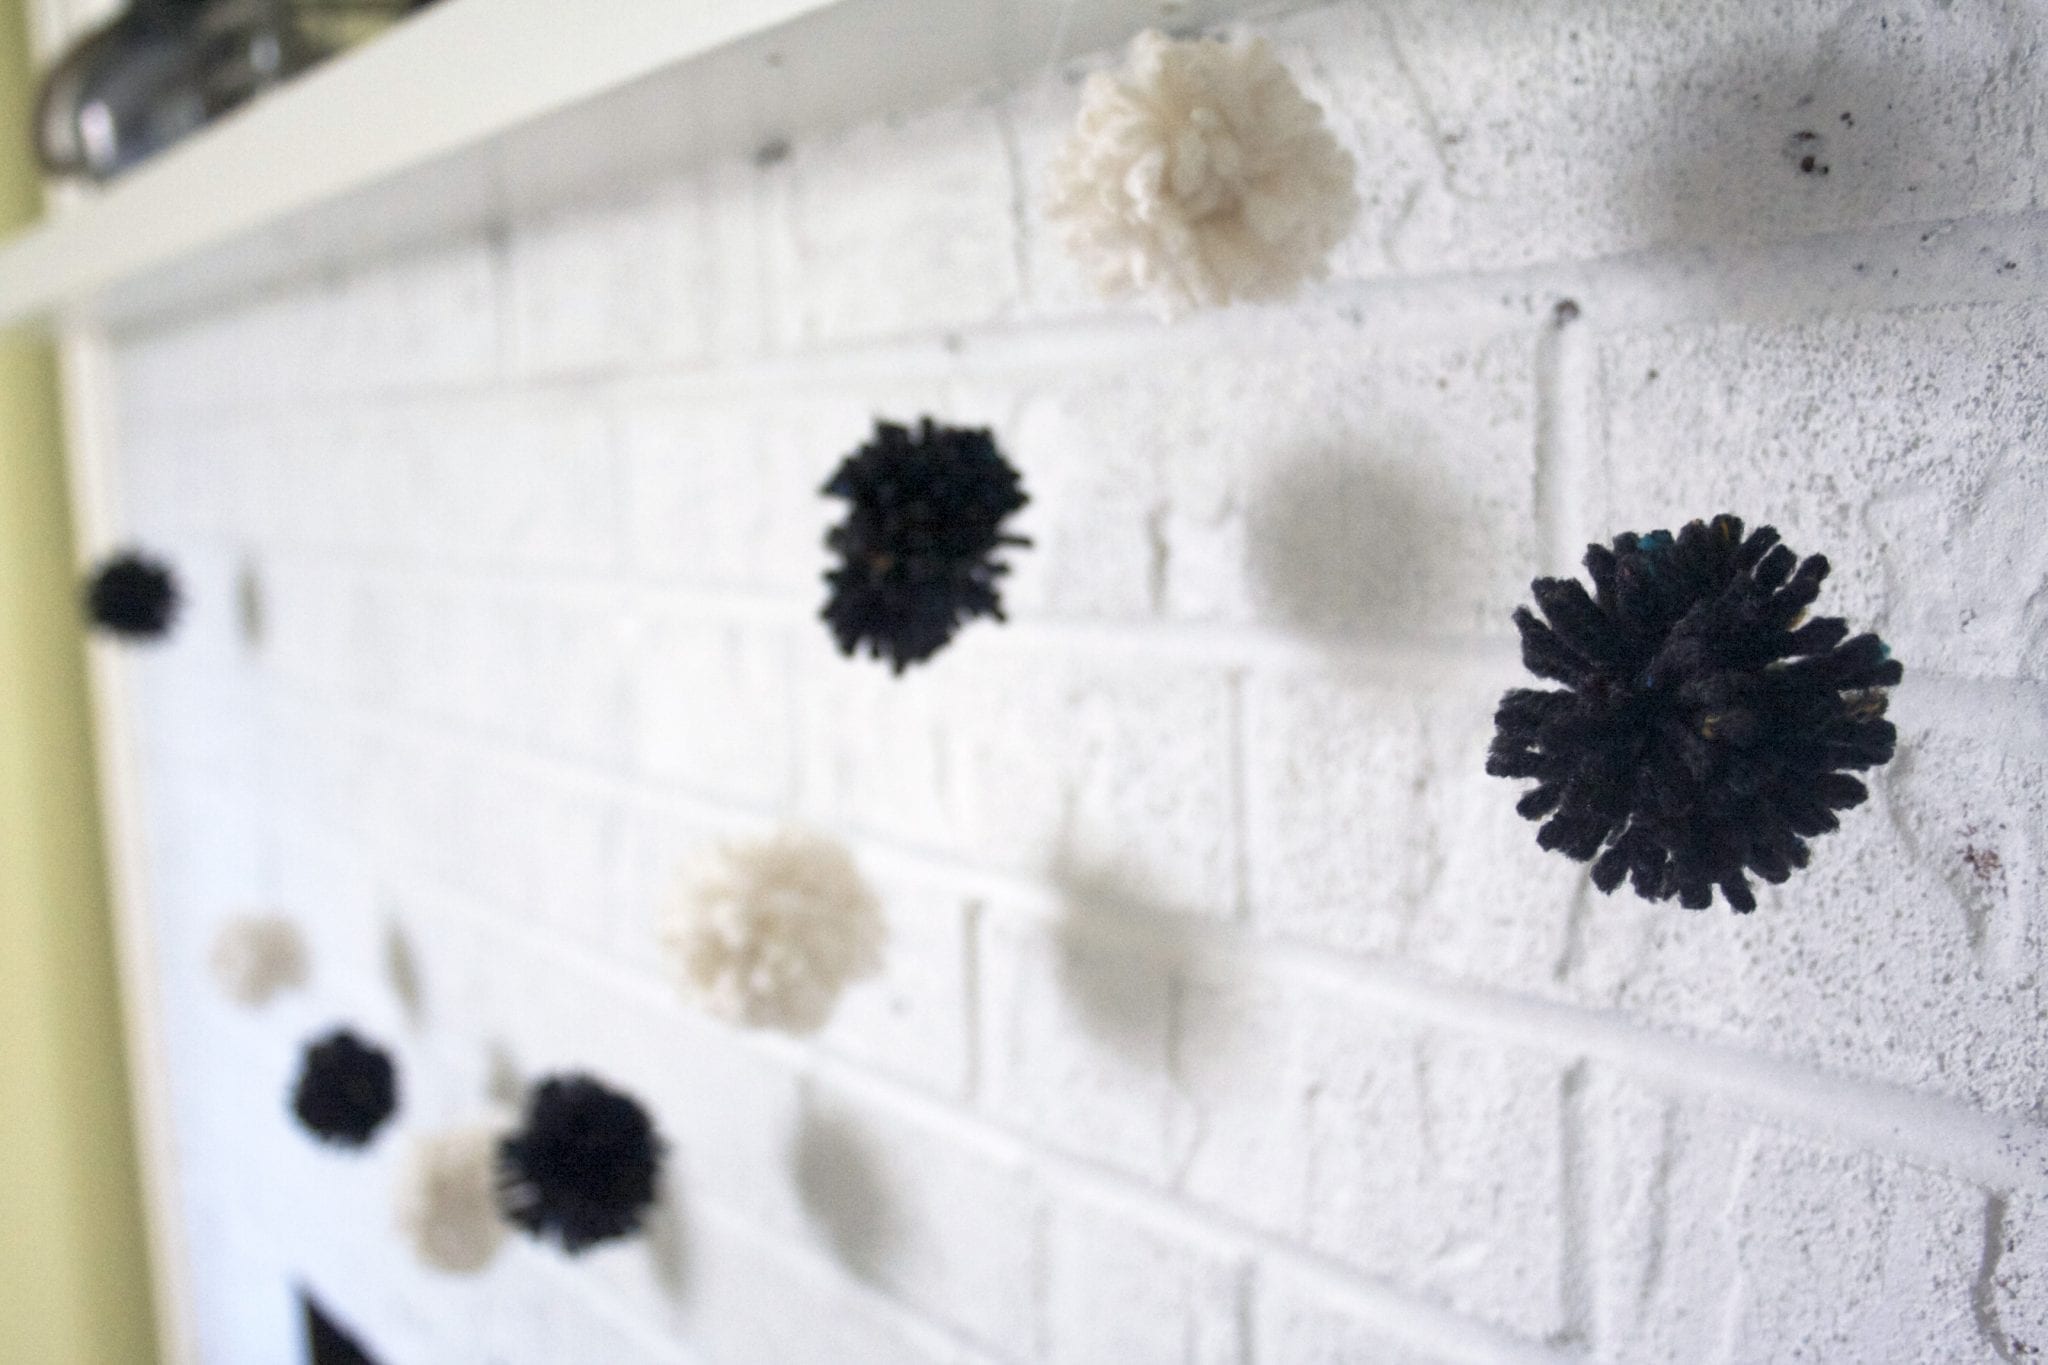
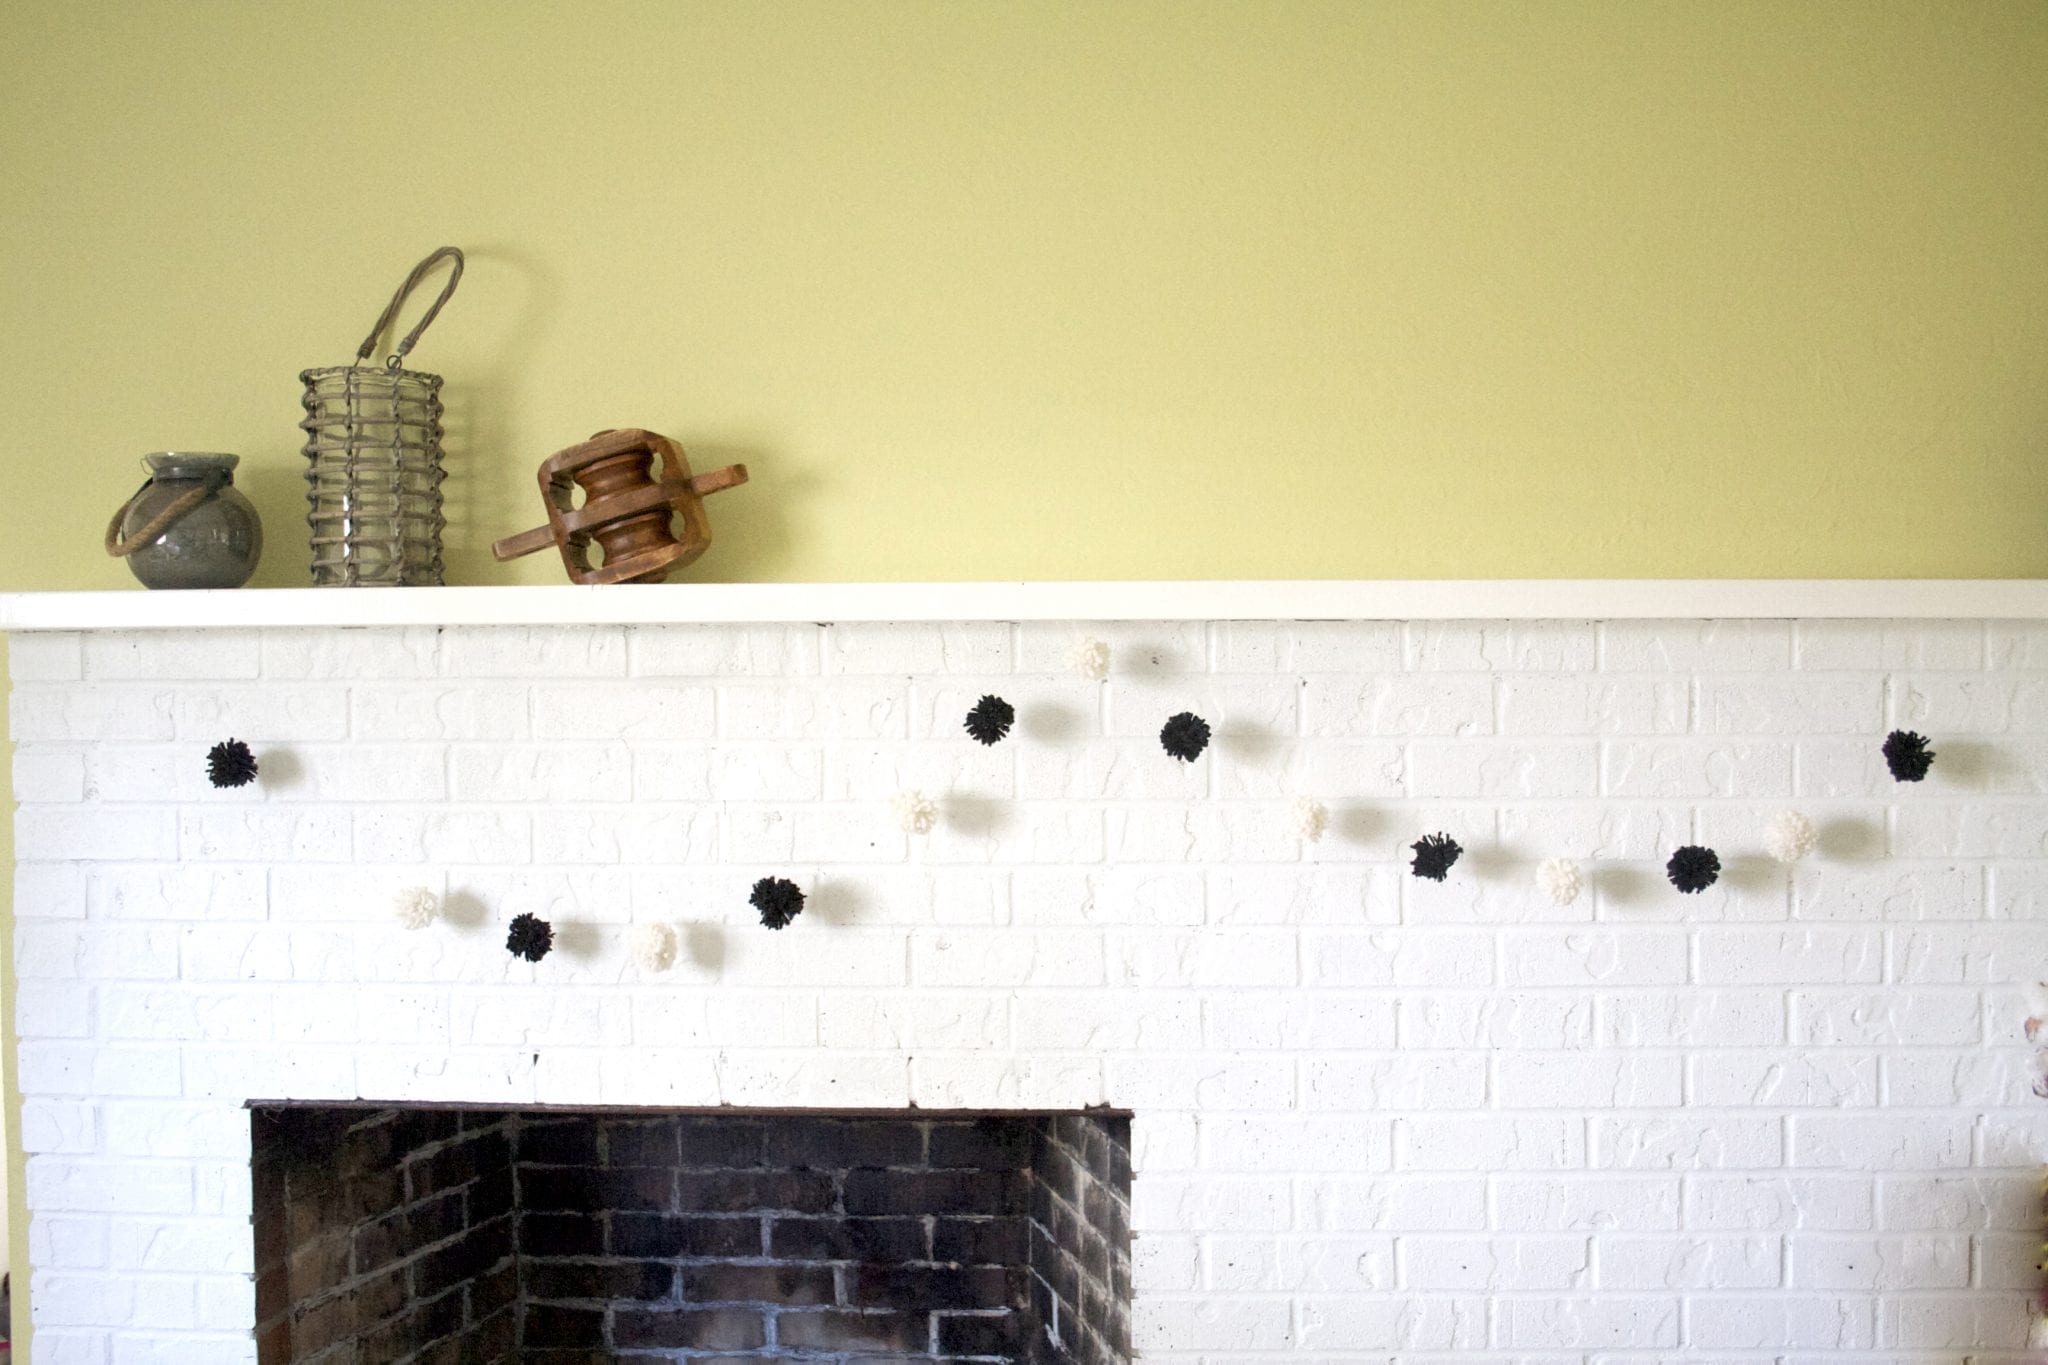
Once you have enough poms to string, feed your threaded needle through the center of the pom, then loop it around and feed it through the pom again before adding the next one. This will create a cradle for each pom so that they don’t slide down while they are hanging, but you can still move them around to even them out…or to un-even them out, if that’s what you like. Tie loops in each end of the thread so that you have a loop to hang it from. You’re done!
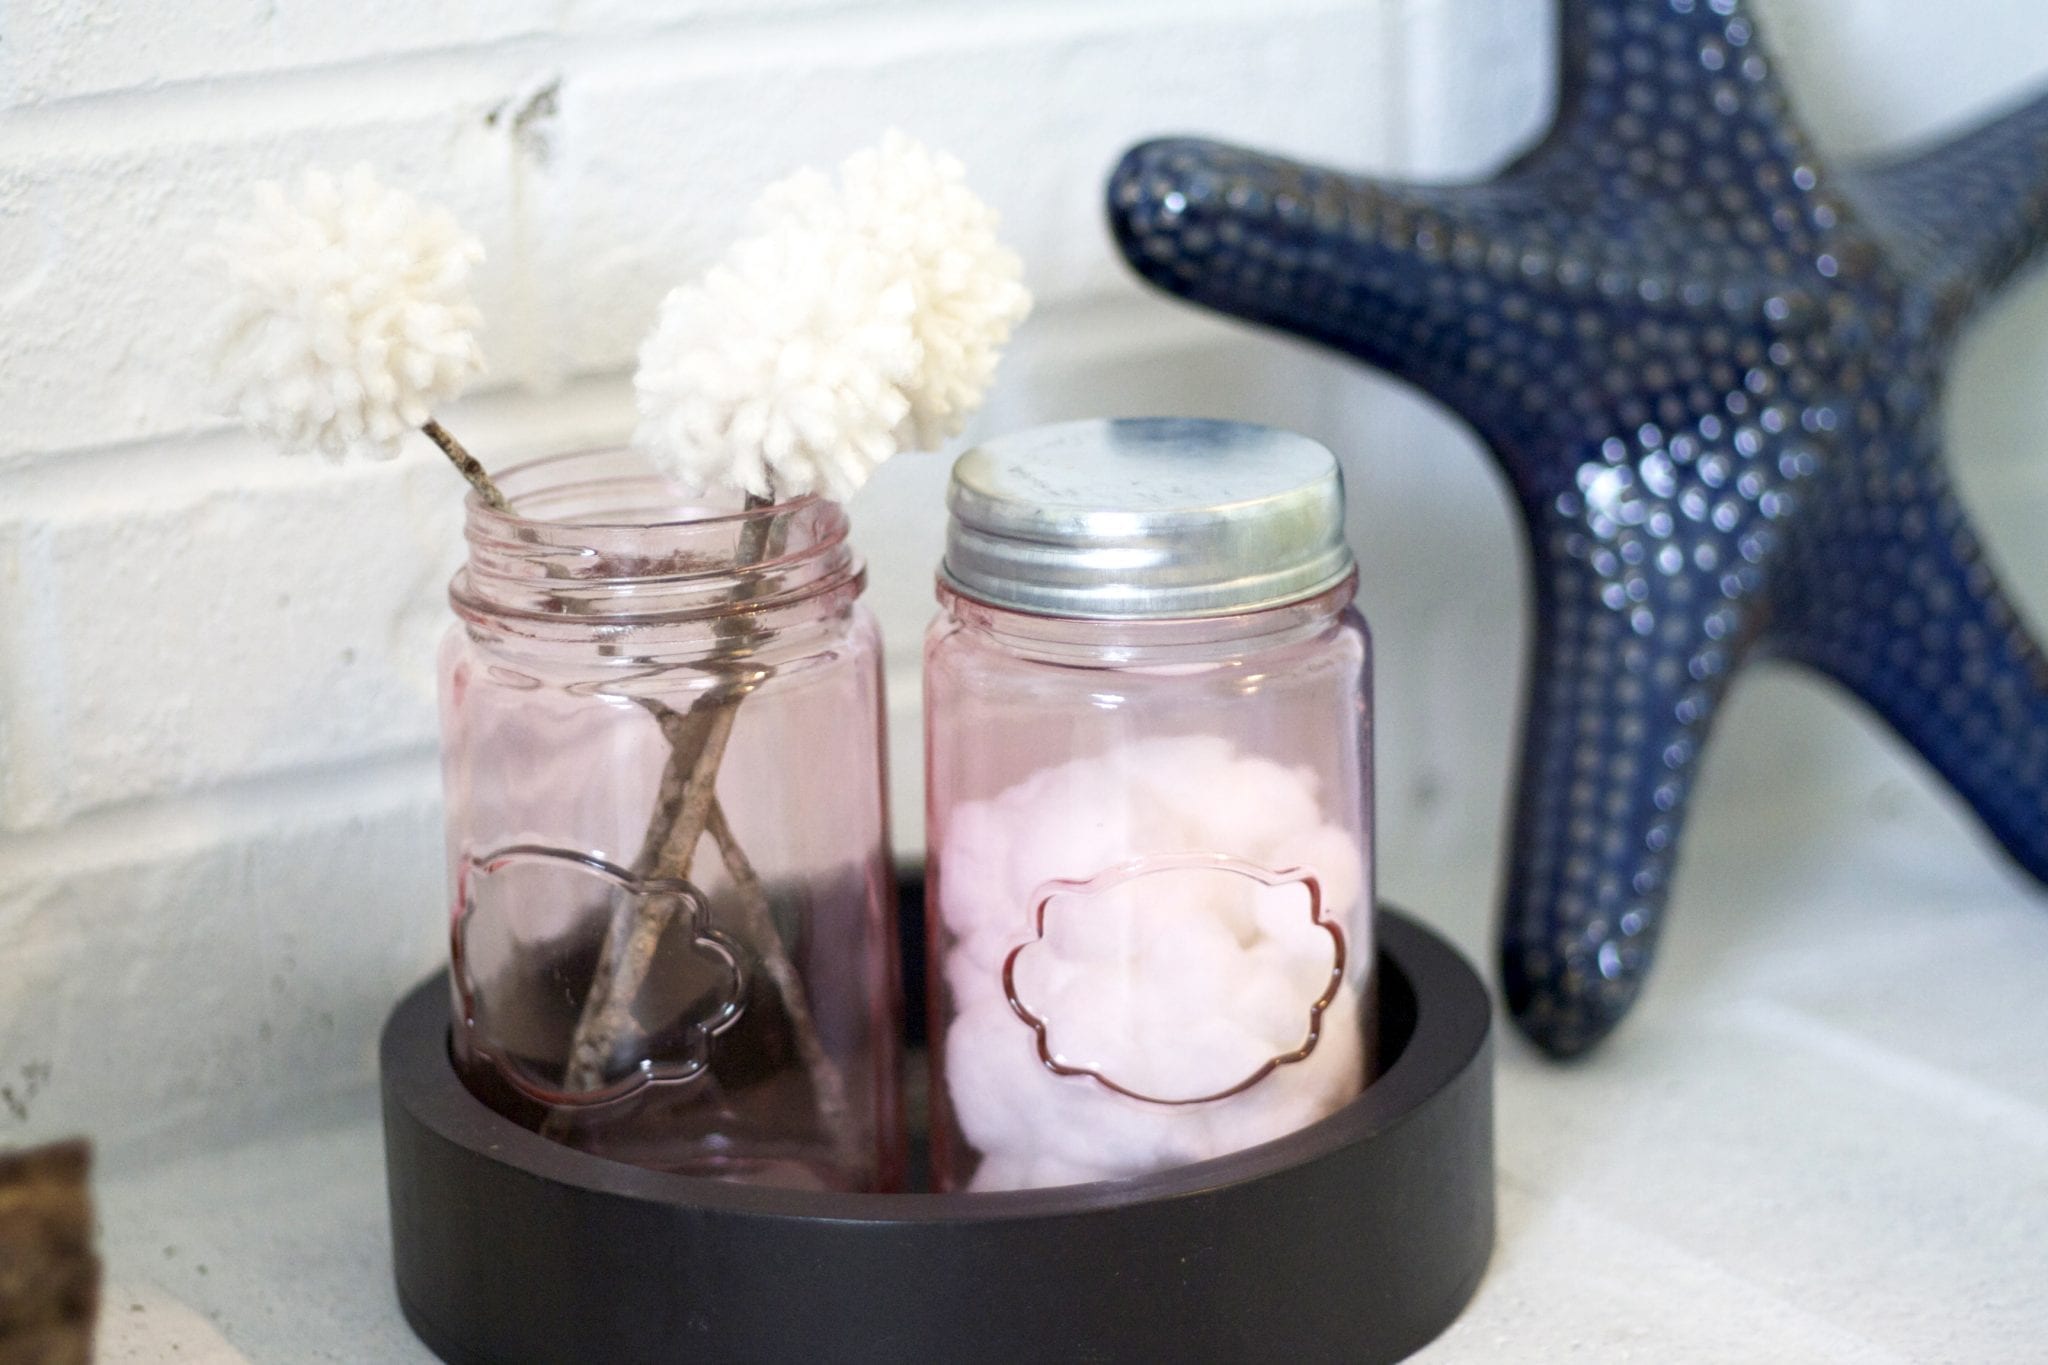
You could also make a pom bouquet. Just find some twigs, hot glue the ends and add the poms to it!

Leave a Comment