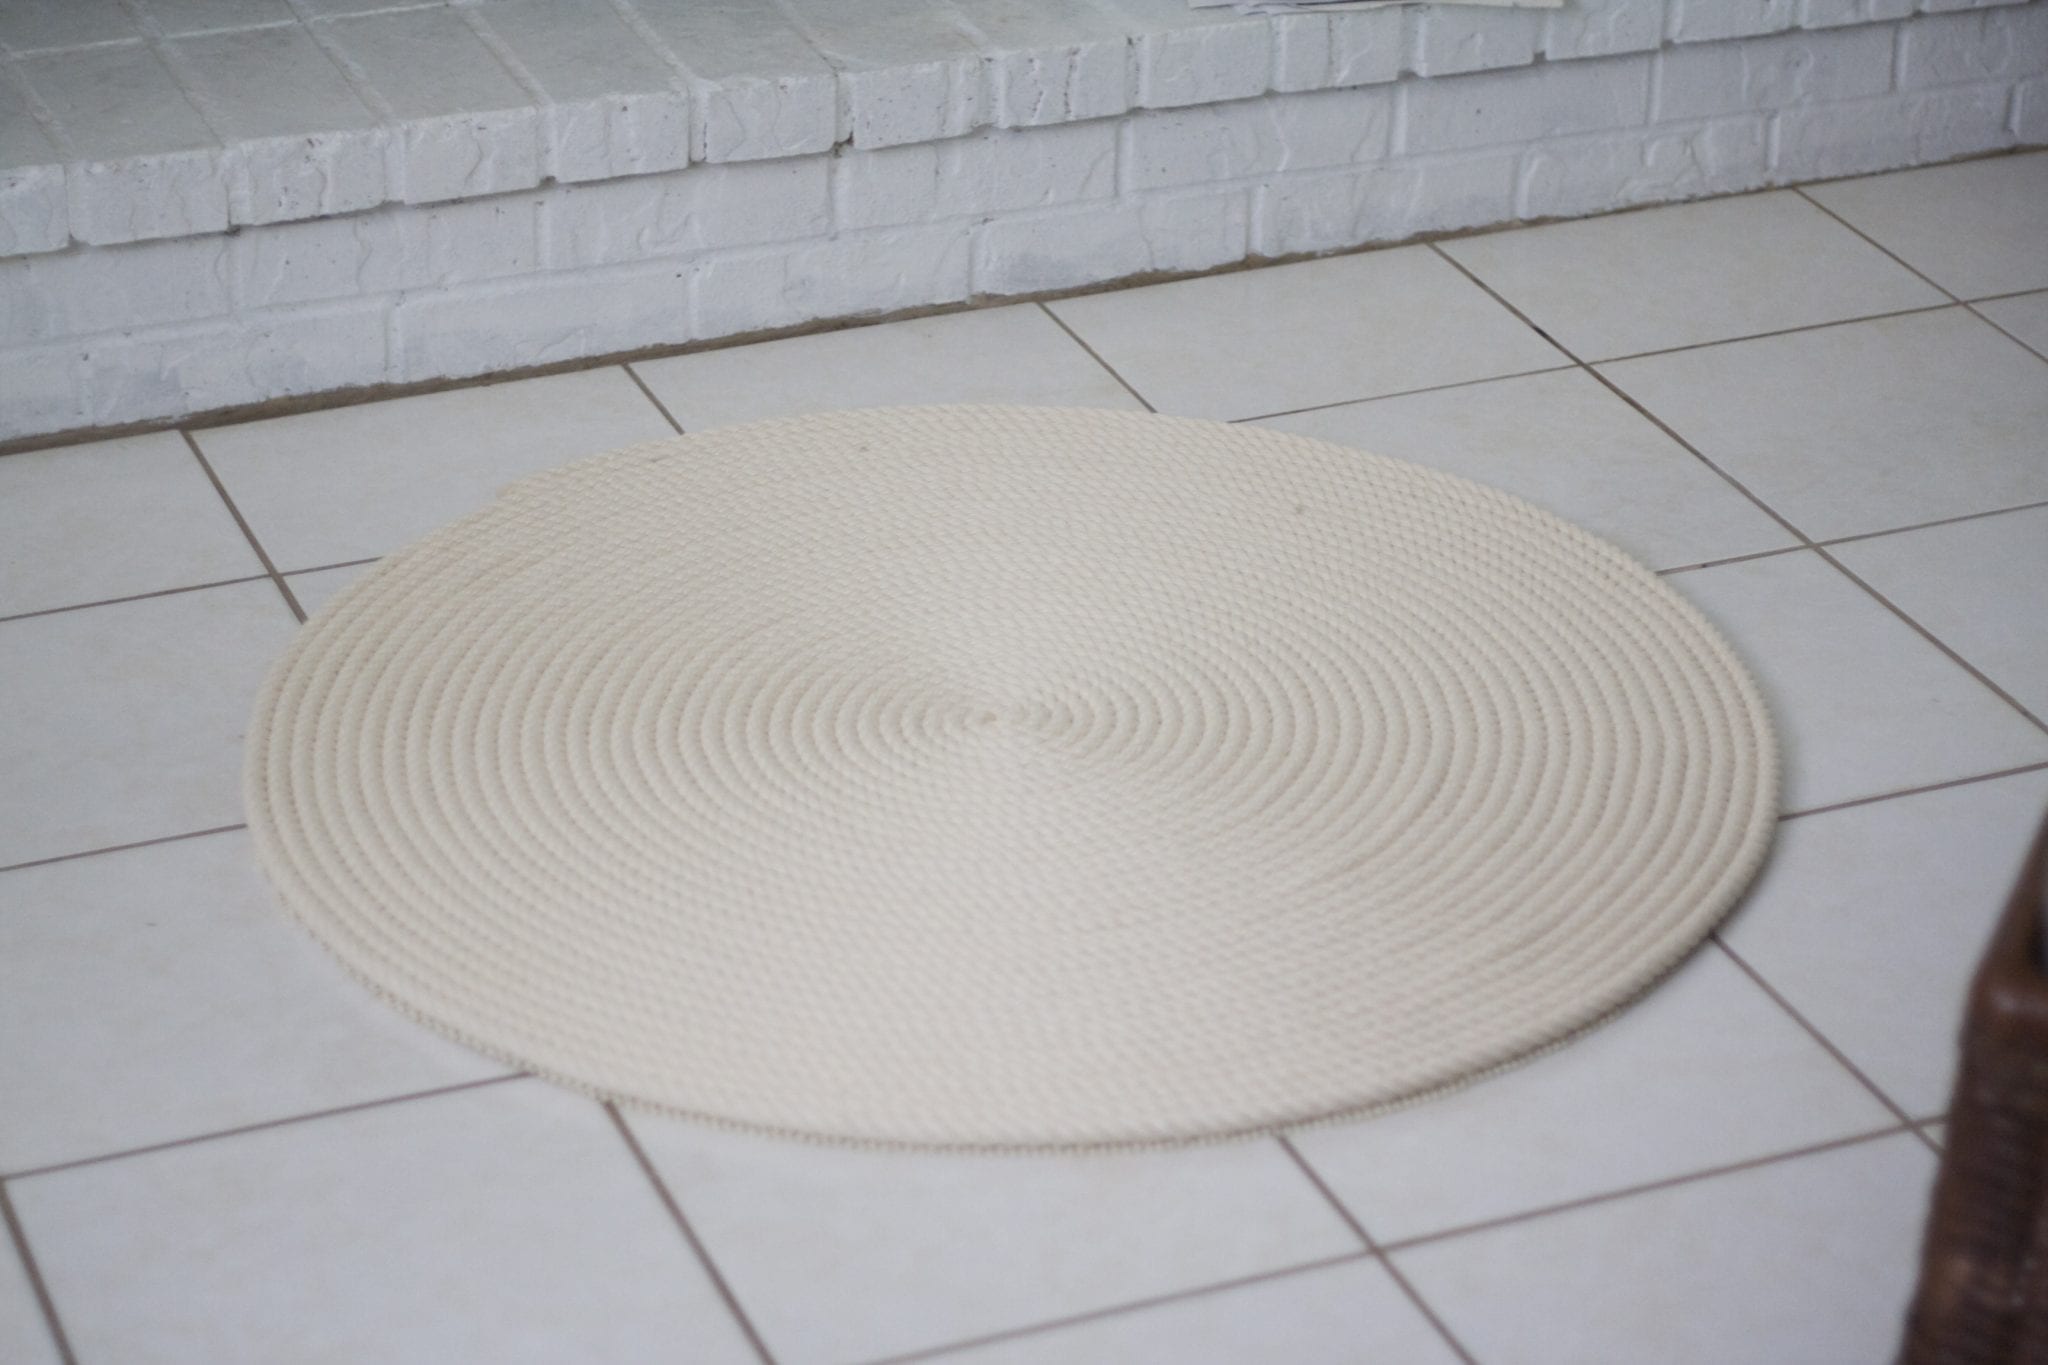
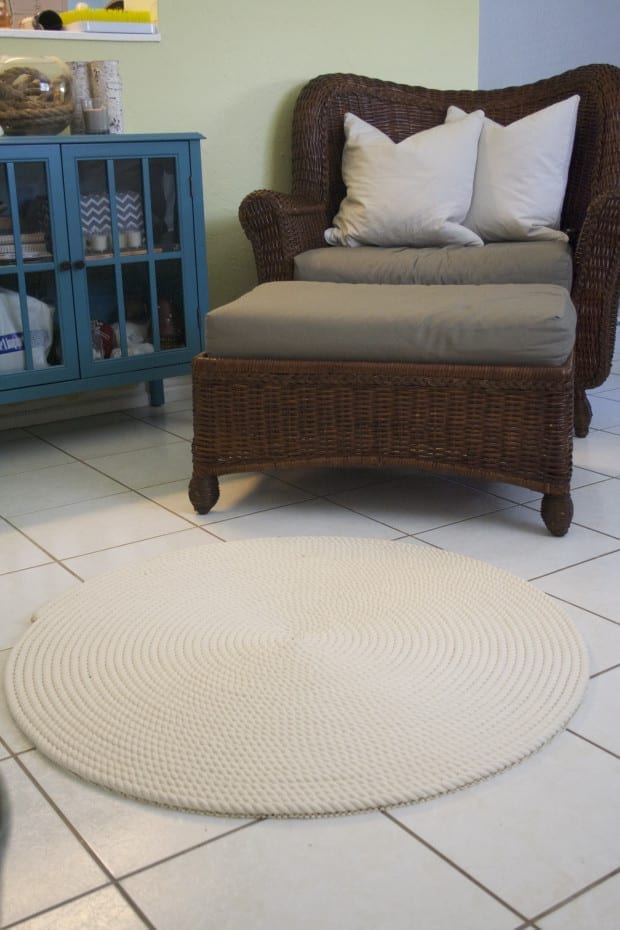
This is a very simple DIY with beautiful results for your home!
All you need is:
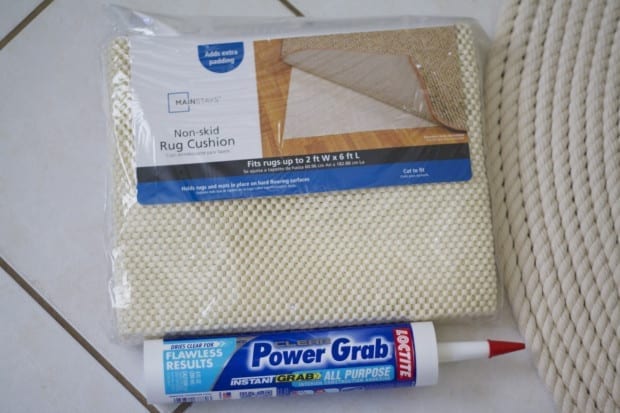
- cotton rope
- Instabond glue
- anti-slip rug mat/pad
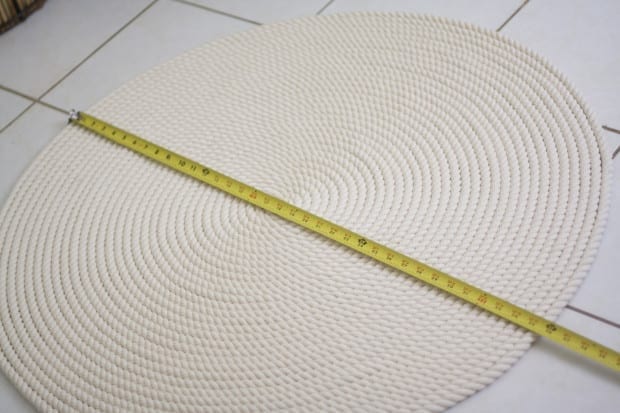
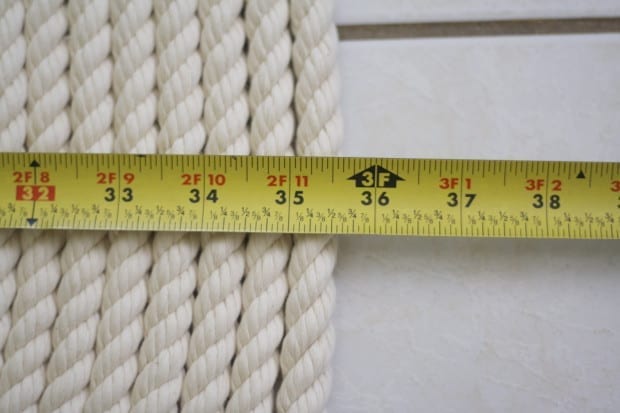
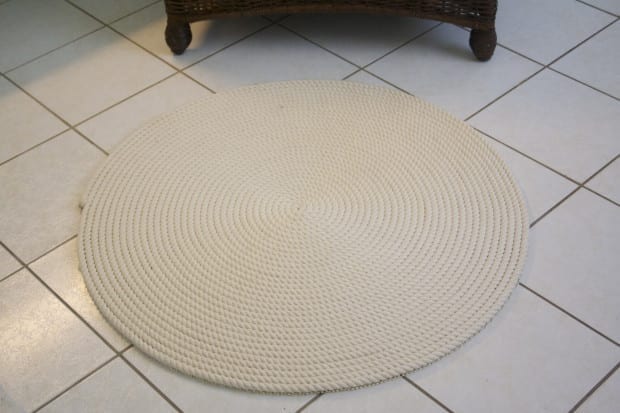
I searched all around for the best and cheapest cotton rope that I could find. Now, if you live in a coastal town, you might be able to find it cheaper locally. This website has the best prices. I used this website to calculate how much rope I would need for the size rug that I wanted to make with a certain thickness of rope. I chose the 1/2 inch (.5 in) thick rope because I didn’t want it to be a tripping hazard and I wanted it to be 3 feet in diameter. The calculator said I needed around 169.(something) feet of rope, so I just purchased 170 feet. With shipping, this came out to be $77 and some change. The glue was $4 and the rug pad was around $10. So, for $91 you can have a custom rope rug AND non-slip pad that would cost around $200+ from online retailers like Pottery Barn.
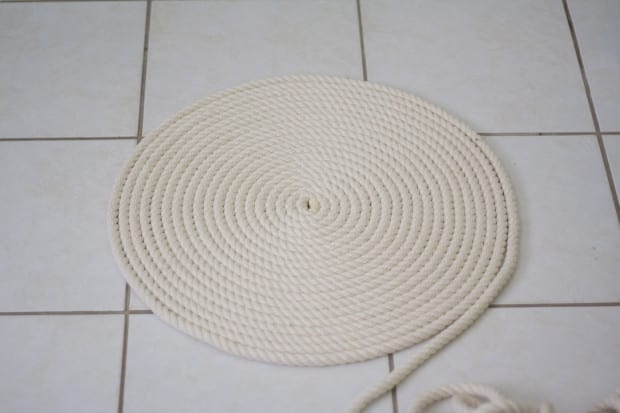
Make sure you have a large floor area to work on where it can be left for a couple of days. Start by winding your rope tightly in the center and wrapping the rope around and around until you get to the end. Make sure it’s snug. I will warn you that the rope will knot up on itself while you do this, so you will spend half the time straightening it out. It took me about an hour to do this.
You can see that the online calculator was fairly accurate.
Once you have it all wound, tape the end piece gently to the rug so that it stays put while you apply your glue.
I used Loctite Power Grab All Purpose adhesive. It doesn’t list cotton as a material, but it’s all purpose and I’ve used it on many other projects with amazing results. I accidentally grabbed a rug pad that was only 2 feet wide, so I had to cut mine in half and carefully apply it. Make sure yours is big enough to cover all the way across your rug.
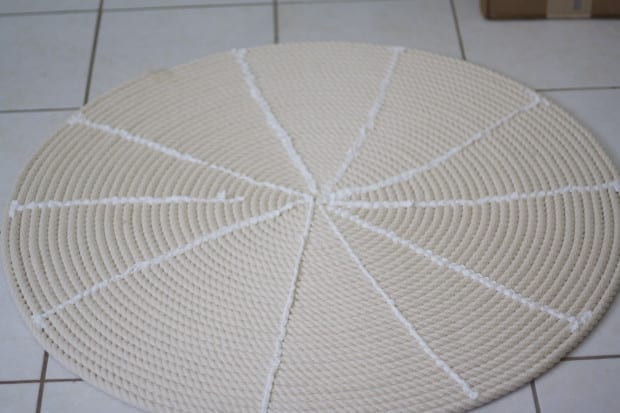
Apply your adhesive like pizza slices. Make sure you apply plenty all the way around. I was afraid the glue would dry up if I made anymore spokes, but I did go under the edges of the rug and apply more adhesive, especially all the way around the edges. You don’t want it to fall apart when you flip it over. You could also use a strong fabric, like a drop cloth to attach the rug to as a support then use a rug pad under it separately. Either way. I chose the cheaper way.
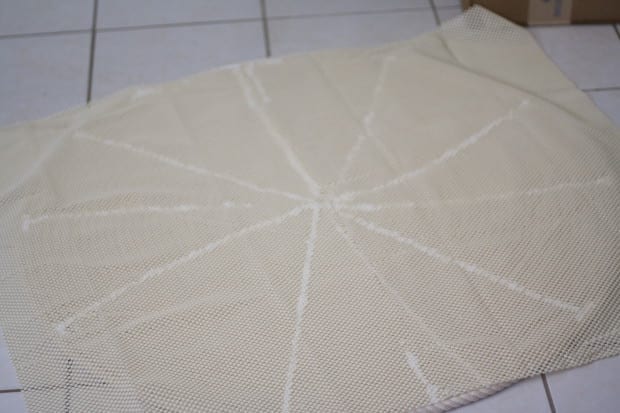
Lay your rug pad over the glue and gently press until it adheres well. You don’t want to smash it all the way down to where the glue squeezes out of everything.
Cut off the excess around the edges. Allow the glue to dry at least 24-48 hours.
Wendy
Wendy is a facebook administrator and editor for Modern Day Moms. She is a multi-purpose mom (aren’t we all, really?) who loves home decor, couponing, sewing, photography, Pinterest, frugal living… ok, pretty much all the same things that most women love! She enjoys spending time with her family and friends while living on the gulf coast. Her two Boston Terriers - Oscar and Lily - occasionally make appearances on MDM.

3 COMMENTS
Mistyn Murray
9 years agoGreat job Wendy! I bought the items needed, over the weekend, to make a similar rug.
Yours is beautiful. I hope my end results are similar.
Have a nice day.
Mistyn
Wendy
9 years ago AUTHORThank you, Mistyn! Please share your finished project with us on our Facebook page. We’d love to see it and share it with others!!
Rayanna
3 years agoHi! What website did you purchase the rope?